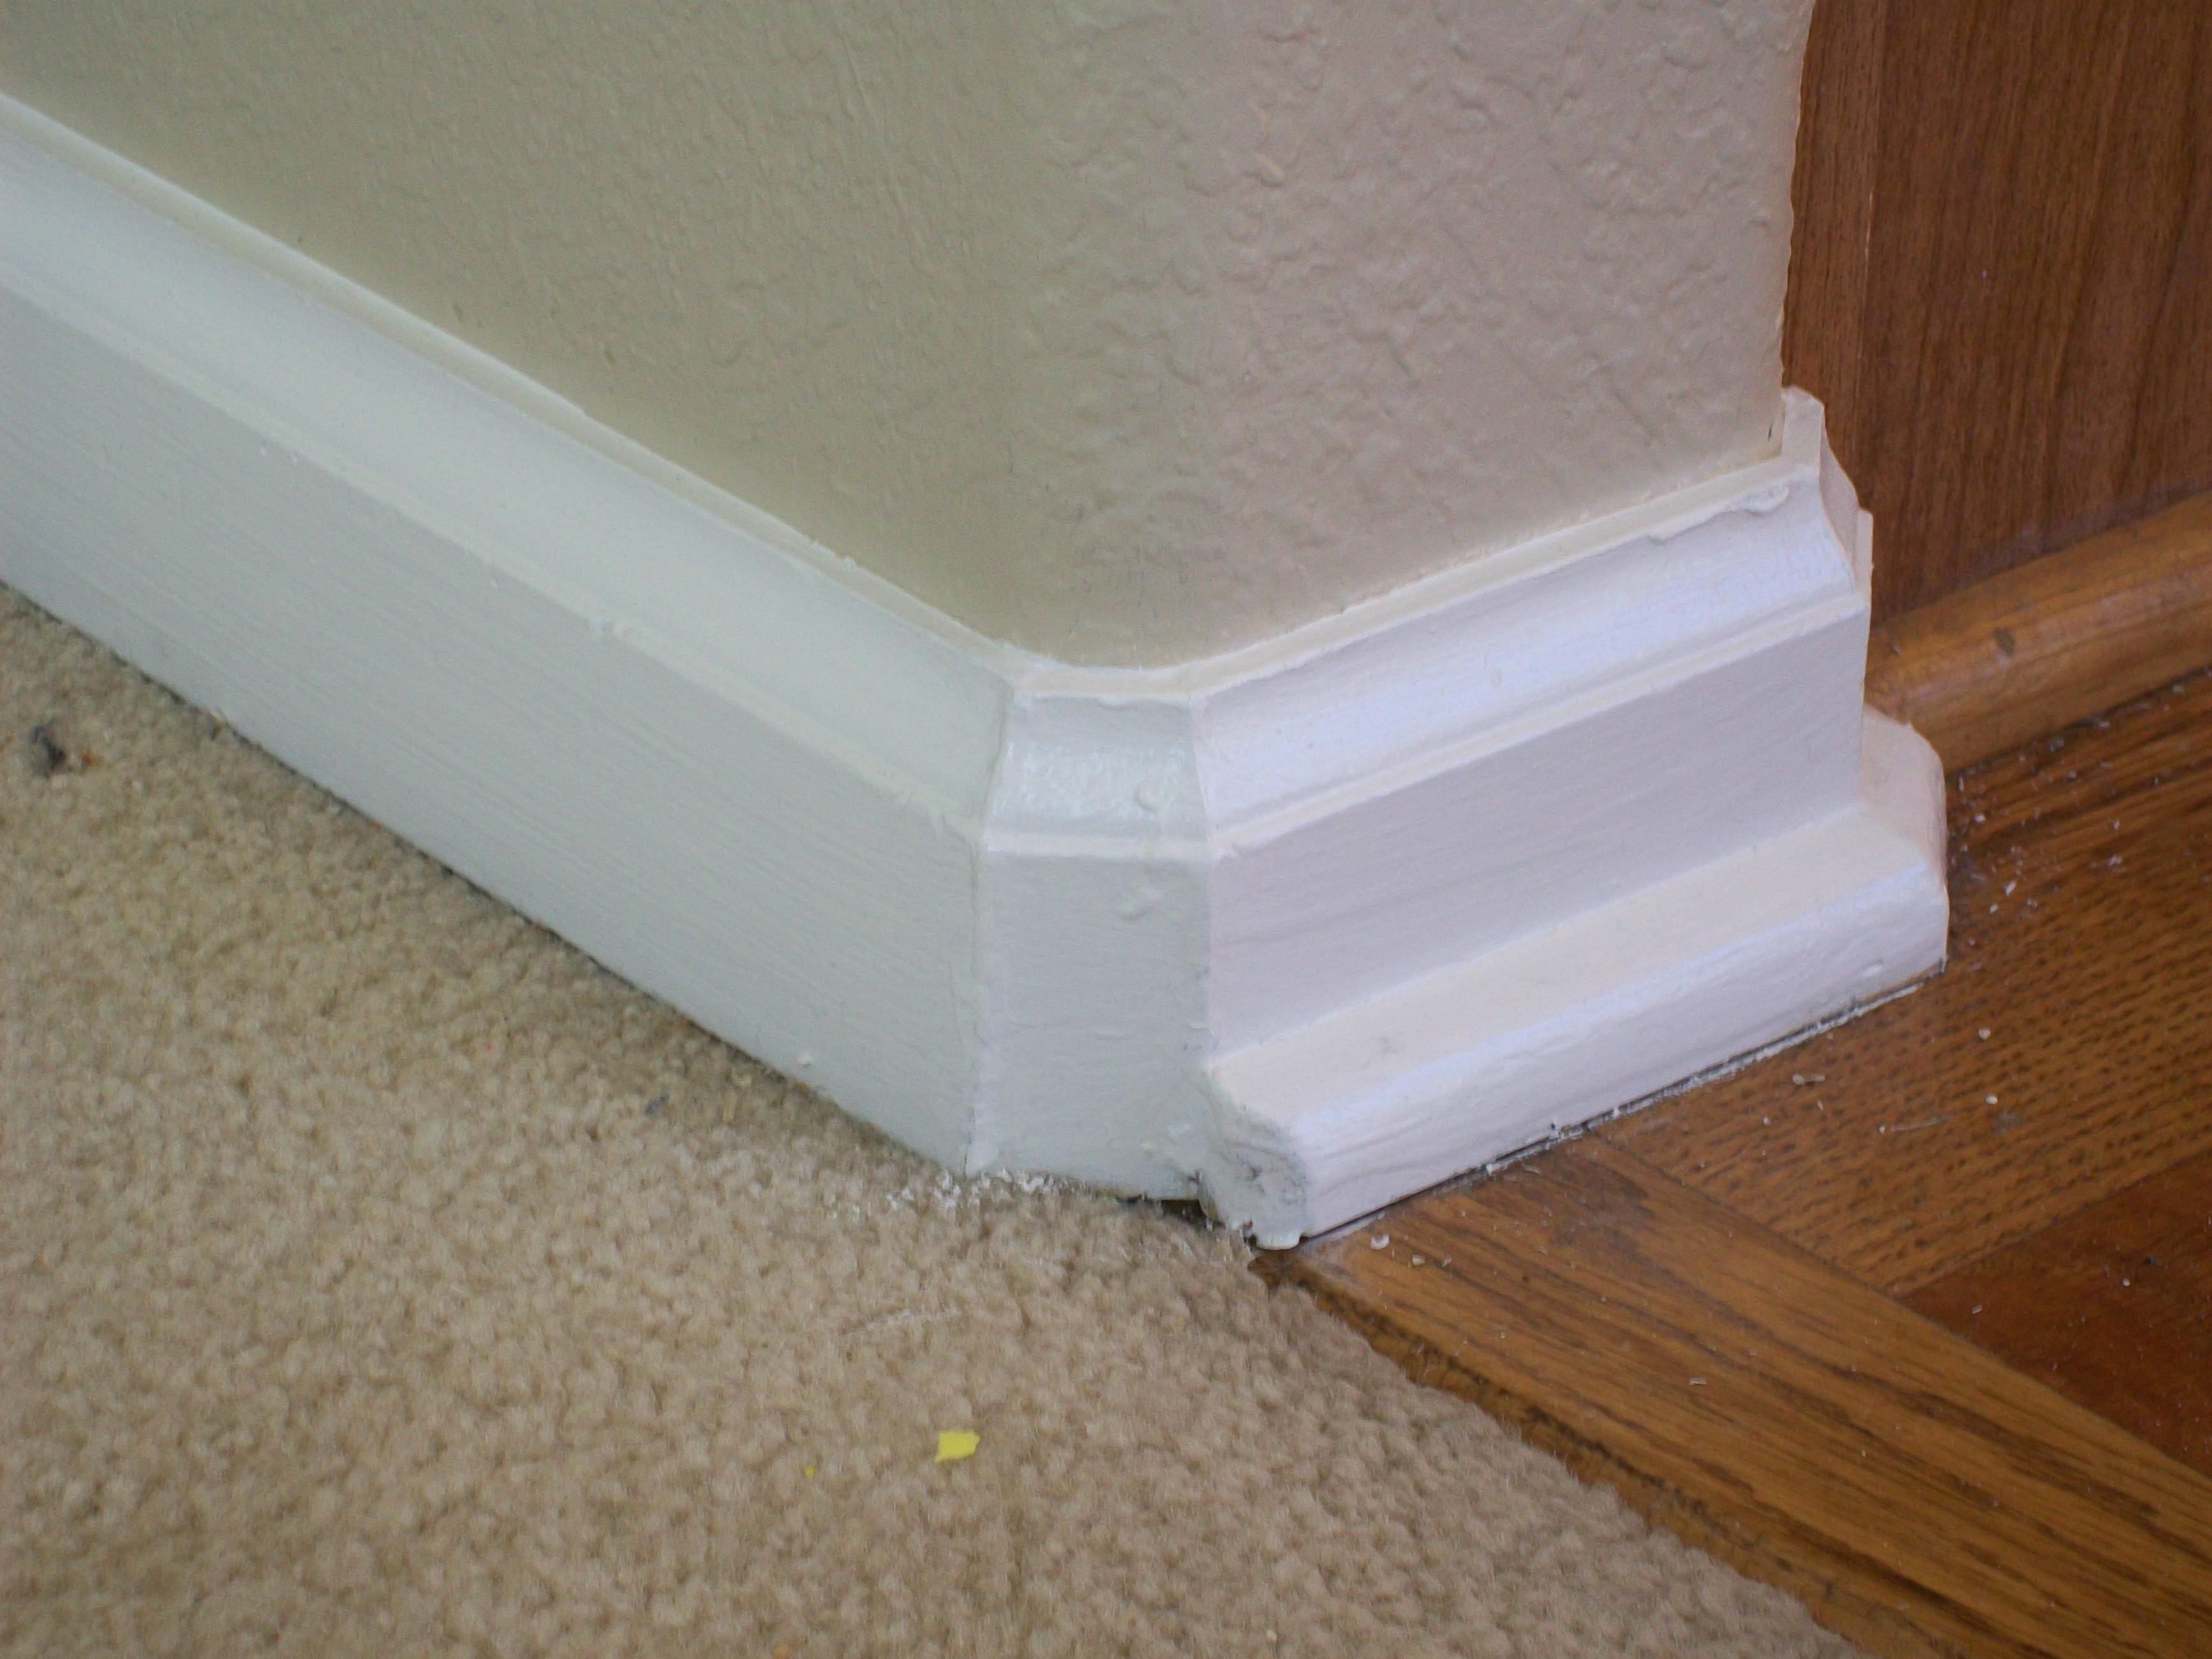
Do you or someone you know have rounded corners in their home? Have you ever noticed that some of the corners on the basedboards look ’rounder’ than others? Or have you wanted to paint, but didn’t know how to make a clean line bend around around corner? Let the HappyPainters show you how you too can have perfectly round corners:
First, if you plan to paint the trim and the walls, we suggest you paint the trim first. That way you can create the ‘ruler’ edge using the tape as your line. If you are not painting the baseboards clean them well so your tape will stick better and allow less ‘leaking’ of paint underneath the tape. We’ll be using pictures of baseboards we had just painted and let dry overnight. Since the paint is fresh, we chose not to use white masking tape, which can pull up the fresh trim paint when removed. Our tape-of-choice over new paint is Frog Tape – we find it leaves a better edge than traditional blue tape.
 Once you’ve prepared the baseboards, run long pieces of tape down each wall leaving an inch or two overhang off the corner. You’ll want to make sure to get the tape into the corner on the baseboard without allowing the tape edge to creep up the wall. These lines will give us the smooth transition from straight to curved. From now on we’ll be focusing on the little white triangle created by this intersection.
Next, take a 2-inch piece of tape to etablish your paint line at the apex of the corner. Try to stay as symetrical as possible to the tape along the walls.  This corner piece should butt up against the wall just like the long two pieces did. At this point you should have a design resembling three edges on an octagon. If done properly, all you should see are two very small corners of white showing in the middle of your corner. At this point many people (including a lot professionals) stop and go straight to paint. Doing so, however, means those two little corners of white will be painted wall color and will show on the finished product.
Now for the coup-de-tat: Take two more small slips of tape (an inch or two) and place over the small triangles that are still visible on each side of the curve taking care to bisect the angle of the other pieces of tape. When you’re done, you should be left with a  round corner with what looks like a curved tape line even though closer examination will show multi-angled lines. The angles are too small for the naked eye to see from any distance over about three feet. As an example, these pictures were taken from less than two feet away.
At this point you may be chomping at the bit to get into paint, but hold for a moment, dear reader. With all those layers of tape it is essential to take a moment to insure there are no air pockets or un-stuck edges to allow paint to leak under all your hard work. To make sure you get a nice clean edge, press (not rub) hard on every tape joint to make sure everything is well-stuck-together then grab your paint and have some fun!
After you finish painting, don’t leave the tape on too long – the tender fresh paint may peel off the wall with the tape; thus messing up all your hard work. We recommend removing the tape as soon as you can do so without getting paint on your hands from the excess on the tape.


